This piece has been medically reviewed by Rich Marlar, MD, Medical Advisor to Aeroflow Diabetes.
Continuous glucose monitors (CGMs) help you safely monitor your blood sugar levels in a discreet and easy-to-use way. But if you’ve just received your CGM system, you may need help figuring out where to wear your sensor.
Find out where to wear your CGM sensor in this post.
Why Is Sensor Placement Important?
Your CGM will usually come with 2 or 3 parts, depending on which system you have:
- Sensor: Discreet, wearable device that attaches to your skin and monitors your glucose levels through your interstitial fluid using a small filament just below your skin.
- Transmitter: Fastens to the top of the sensor that sends real-time data to your digital reader or smartphone.
- Digital reader / receiver: Small digital device that scans your sensor and receives glucose data, delivering blood sugar alerts to notify you of highs or lows.
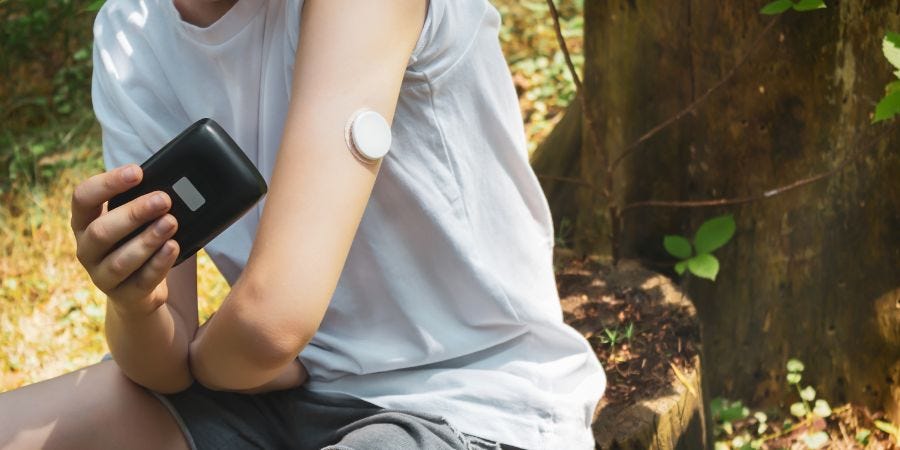
Whether you have a FreeStyle Libre system or a Dexcom system, the CGM sensor is the part that will be applied to your skin.
The placement of glucose monitoring system sensors needs to be approved by the FDA before the system comes onto the diabetes care market. This is because the wrong placement can give you inaccurate blood glucose level readings, causing you to miss important alerts and could result in unsafe treatment decisions or harm to your body. Therefore, it is crucial for proper blood glucose monitoring that you put your sensor in the correct spot.
Where to Wear Your CGM Sensor
General Placement Guidelines:
- Only apply your sensor on areas that have been approved for your brand.
- Place your sensor in the approved spot where it is most comfortable.
- Choose a spot where it is least likely to be disrupted during your daily activities.
- Place the sensor on a spot free from tattoos, scarring, and irritated skin.
- Avoid boney areas.
FreeStyle Libre 2 System
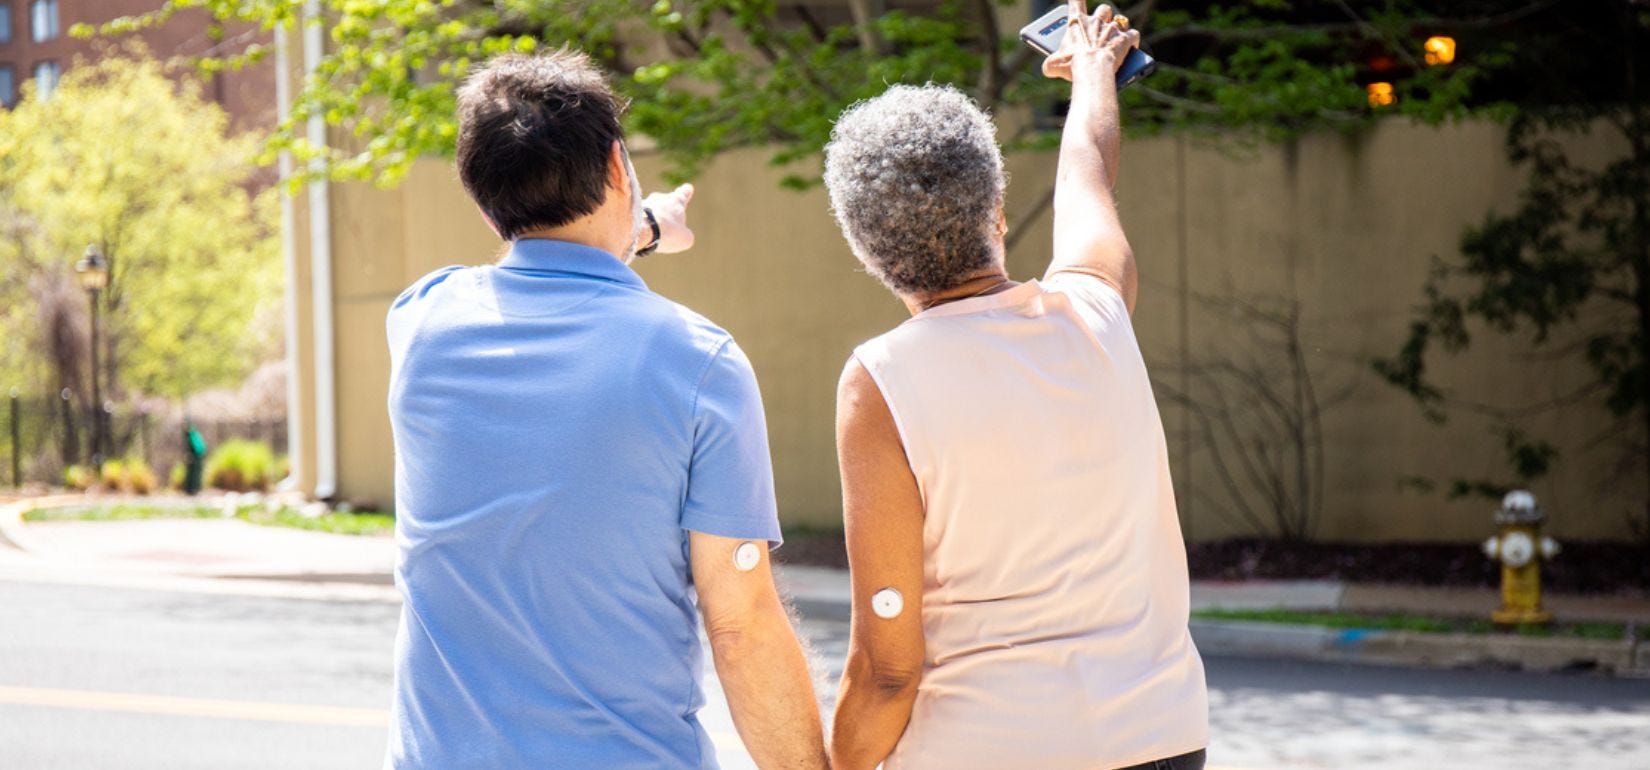
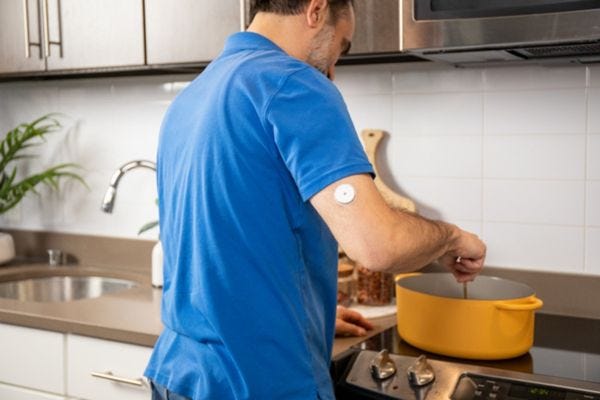
Where to Wear It: Back of the upper arm. The FreeStyle Libre 2 system has only been approved for this area.
FreeStyle Libre 14 Day System
Where to Wear It: Back of the upper arm. The FreeStyle Libre 14 day system has only been approved for wear in this area.
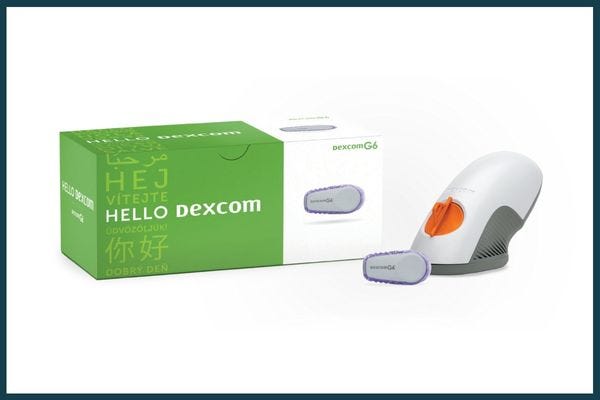
Dexcom G6 System
Where to Wear It: Belly (ages 18+), belly or upper buttocks (ages 2-17). While our Medical Advisors do not have one preferred area that you wear the Dexcom G6, we recommend placing the sensor where it is most comfortable for you in the approved areas.
How to Get a CGM Through Medicare
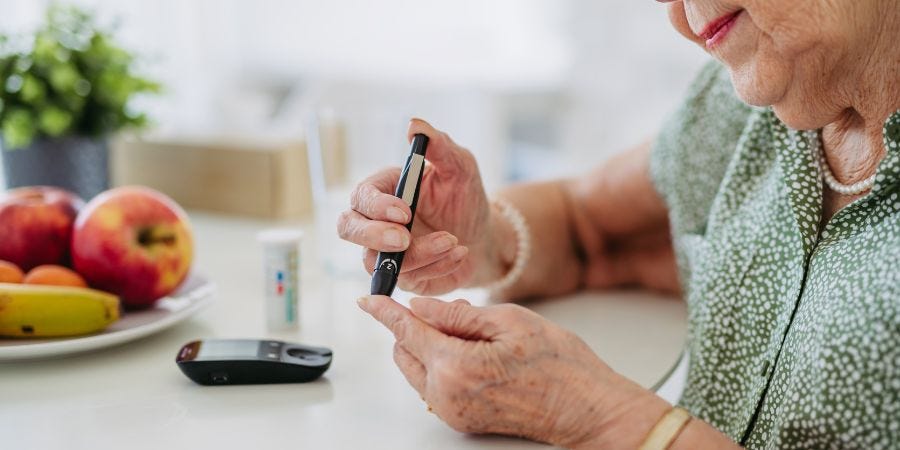
While diabetes care supplies like CGMs are necessary for those with type 1 diabetes or type 2 diabetes to live a healthy and safe lifestyle, they can be costly; The average cost for a CGM is around $1,000 and some spend thousands each year with or without insurance!
At Aeroflow Diabetes, we know these products are necessary for maintaining your quality of life, which is why our mission is to supply you with the highest-quality CGMs through insurance if you qualify. You’ll receive advice from our Diabetes Care Experts and get your CGM shipped to your door.
Stop paying high prices out of pocket for your diabetes management! See if you qualify to get your CGMs covered by Medicare today. It takes under 5 minutes to find out if you’re eligible with our easy Eligibility Form- just have your insurance card nearby.
FreeStyle Libre Systems Application Guide
Your Freestyle Libre system sensors are designed to stay on for up to 14 days.(1) Your appII¶# or reader will alert you when it’s time to remove it and put on a new one.
Before you apply your sensor, ensure you have all of the parts of your CGM required. Your system should come with:
- Sensor applicator.
- Sensor pack.
- Alcohol wipe.
You can also prepare for application by having ready:
- Clean, dry towel.
- Soap and sterile water.

Step-by-Step Application Guide
- Select the area on the back of your upper arm where you’ll place your sensor.
- Wash the area with soap and water and let it dry.
- Wipe the area with the alcohol wipe.
- Peel the lid off the sensor pack.
- Take the lid off the sensor applicator.
- Put the sensor applicator inside the open sensor pack and line up the marks on both.
- Press down on the applicator until it stops.
- Place the sensor applicator onto the area you cleaned.
- Push down until the sensor is in place on your skin.
- Ensure the sensor is secure after applying.
- Press the blue “Home” button to turn on your reader to start the sensor.
- Tap “Start new sensor” on the touchscreen.
- Hold your reader within 4cm of the sensor to scan it.
- The reader will beep when you’ve successfully activated your system.
Dexcom G6 System Application Guide
Your Dexcom G6 sensor can be worn for up to 10 days.
Before applying your sensor, make sure you have the pieces of the CGM. It should come with:
- Sensor
- Applicator
- Transmitter
- Digital reader.
You can also prepare by gathering:
- Clean, dry towel.
- Soap and water.
- Alcohol wipe.
Step-by-Step Application Guide
- Choose the site on either your belly (ages 18+) or belly or upper buttocks (ages 2-17). The site should be at least 3 inches away from your insulin pump injection site.
- Clean the area with either soap and water or with rubbing alcohol and let it dry.
- Remove both labels without touching the adhesive.
- Place the applicator on your skin.
- Fold and break off the safety guard.
- Press the button to insert the sensor and remove the applicator.
- Clean your transmitter with an alcohol wipe and let it dry.
- Insert the transmitter tab into the sensor slot.
- Push the transmitter into place.
- Rub around the sensor patch 3 times to secure it.
Placement FAQ & Troubleshooting
- Should I wear my sensor for longer than approved? No. You should wear your sensor for only as long as recommended by your brand guidelines.
- What do I do if my CGM is falling off my skin? If your CGM has been displaced from the site, it should first be checked for accuracy with a fingerstick glucose check. If the readings still seem accurate, then you can secure it using tape or other means. If the readings are inaccurate, it should be removed and replaced with a new CGM.
- Why won’t my CGM stay in place? If you have issues with your CGM staying on, there are several inexpensive adhesive patches that you can purchase to place over your device to help it stay on. You can find these online.
- What do I do if my CGM is irritating my skin? While uncommon, some people do experience skin irritation from the CGM adhesive. There are “chemical barriers” that can provide irritation relief that you can apply to your skin before putting your sensor on. If irritation continues, you can try a different CGM to see if it irritates your skin less.
- What do I do if my skin is bleeding? While it’s rare, you may see a small amount of bleeding upon sensor insertion. If your skin continues to bleed, remove the sensor and contact your healthcare provider.
- How do I remove my sensor? Both Abbott and Dexcom will have user guides to help you remove your sensor safely to replace it with a new one.
- Can I bathe or shower with my CGM? Yes. Read the Abbott or Dexcom user guide to find out how deep underwater you can go with your CGM.
If you have further trouble or questions, contact your healthcare professional and seek medical advice.
Helpful Tips
Use these extra tips to ensure your sensor placement is comfortable and successful.
- Always wash and dry your hands before applying or removing your CGM sensors.
- Gently pat your sensor area dry with a towel after showering or swimming.
- Keep your application site free of moisture, including lotions, oils, sweat, etc. before, applying.
- Avoid clothing that’s too tight around your sensor application area.
- Be aware of your sensor during high-contact sports or other physical activities.
- Avoid pulling on or touching your sensor more than necessary.
- Avoid dressing or undressing too roughly or quickly to avoid pulling on your sensor.
- Remove the hair at your sensor applicator site to make the application easier.
- Contact your healthcare provider if you have any trouble or questions with your CGM.
Dr. Victor Marlar, MD

Dr. Victor Marlar M.D. is a board-certified Endocrinologist who specializes in Diabetes & Metabolism, as well as Internal Medicine. He is an Author and Medical Advisor for Aeroflow Urology. He received his degree from the University of Mississippi School of Medicine in 2005 and has been practicing medicine for over 17 years. He held a fellowship in Endocrinology and a residency in Internal Medicine from the University of Mississippi Medical Center. His subspecialties include Adrenal Disease, Parathyroids, Pituitary Disorders, Neuroendocrinology, and Thyroids. Dr. Marlar is also associated with Mission Hospital and Mission Children’s Hospital.
PREPARING THE SKIN’S SURFACE FOR OPTIMAL ADHESION. (n.d.). Retrieved November 15, 2022, from https://www.freestyle.abbott/content/dam/adc/freestyle/countries/us-en/documents/freestyle-libre-sensor-adhesion-guide.pdf
brandon.barnes. (2020, November 23). Where can I insert my G6 sensor? Dexcom. https://www.dexcom.com/en-MT/faq/where-can-i-insert-my-g6-sensor#:~:text=Dexcom%20G6%20sensors%20may%20be
https://www.goodrx.com/conditions/diabetes/continuous-glucose-monitor-cost
Information provided on the Aeroflow Diabetes website is not intended as a substitute for medical advice or care from a healthcare professional. Aeroflow recommends consulting your healthcare provider if you are experiencing medical issues relating to diabetes care.
1. FreeStyle Libre 2 User’s Manual.
* Sensor is water-resistant in up to 1 meter (3 feet) of water. Do not immerse longer than 30 minutes.
† Glucose readings are not available during 1-hour warm-up, when sensor is too hot or too cold, or when you see an error, “LO” or “HI” message, or no current glucose reading.
‡ FreeStyle Libre 2 system: Fingersticks are required if your glucose alarms and readings do not match symptoms or when you see Check Blood Glucose symbol during the first 12 hours.
§ FreeStyle Libre 14 day system: Fingersticks are required for treatment decisions when you see Check Blood Glucose symbol, when symptoms do not match system readings, when you suspect readings may be inaccurate, or when you experience symptoms that may be due to high or low blood glucose.
II The FreeStyle Libre 2 app is only compatible with certain mobile devices and operating systems. Please check our compatibility guide for more information about device compatibility before using the app. Use of the FreeStyle Libre 2 app requires registration with LibreView.
¶ The FreeStyle LibreLink app is only compatible with certain mobile devices and operating systems. Please check our compatibility guide for more information about device compatibility before using the app. Use of the FreeStyle LibreLink app requires registration with LibreView.
# Medicare coverage is available for FreeStyle Libre 14 day systems for cell phone use if FreeStyle LibreLink is used in conjunction with the FreeStyle Libre 14 day readers. Patients must meet Medicare eligibility coverage criteria LCD L33822 (July 2021). Local Coverage Article: Glucose Monitor Policy Article (A52464), July 2021.
** The information below does not constitute an endorsement of the manufacturer or the product quality. Abbott Diabetes Care is not responsible for the completeness or accuracy of product information. Product availability may vary by country and region. The manufacturer’s instructions for use of each product should be followed.
†† Notifications will only be received when alarms are turned on and the sensor is within 20 feet unobstructed of the reading device. You must enable the appropriate settings on your smartphone to receive alarms and alerts, see the FreeStyle Libre 2 User’s Manual for more information.
‡‡ The LibreView data management software is intended for use by both patients and healthcare professionals to assist people with diabetes and their healthcare professionals in the review, analysis and evaluation of historical glucose meter data to support effective diabetes management. The LibreView software is not intended to provide treatment decisions or to be used as a substitute for professional healthcare advice.