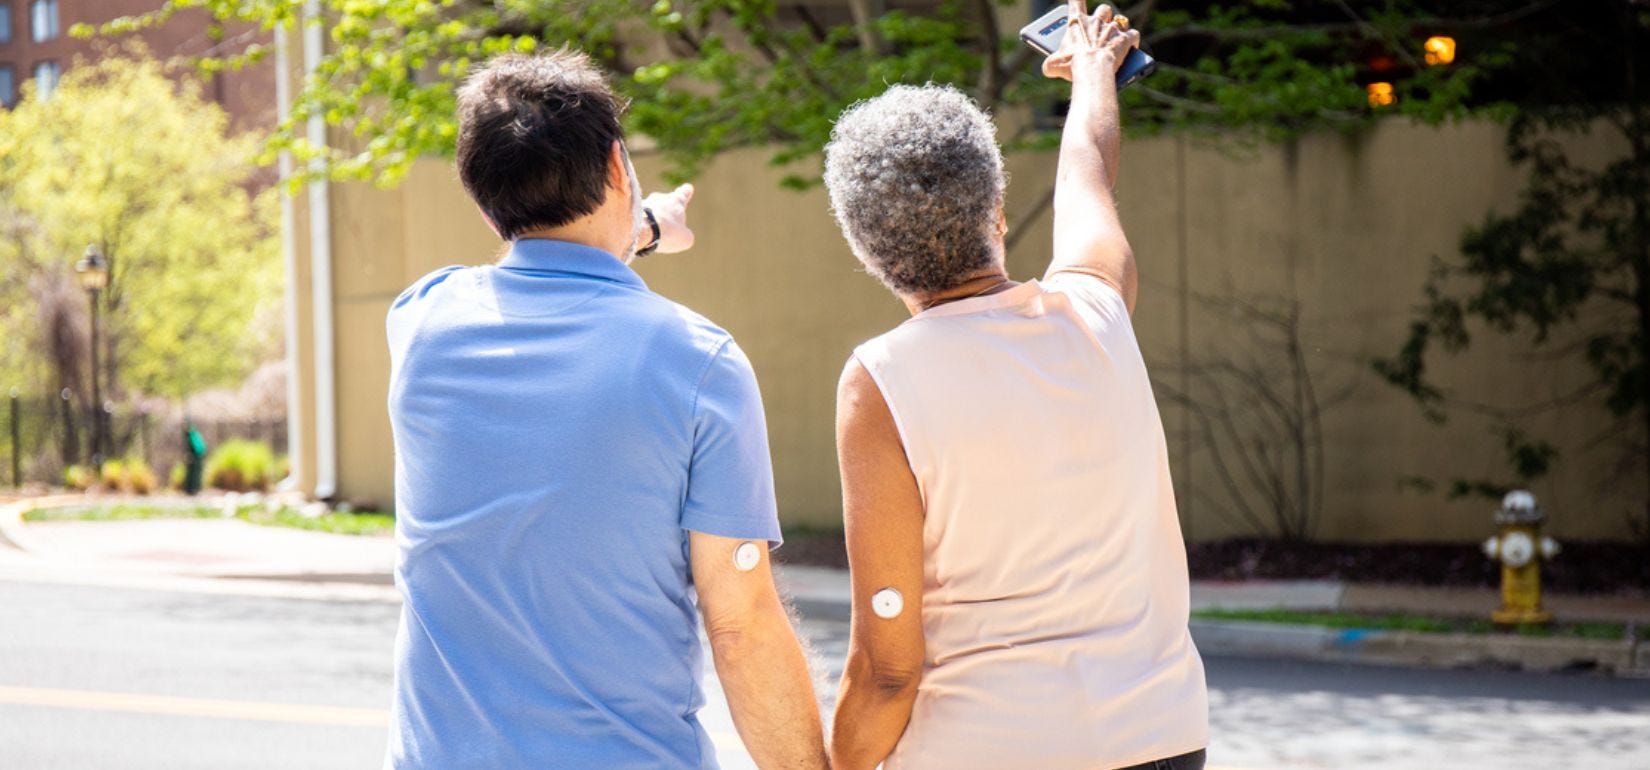
If you use continuous glucose monitors (CGMs) to monitor your type 1 diabetes or type 2 diabetes, you’ll have to set up the sensor with either your smart devices, such as a tablet, phone, or a reader.
While these apps are user-friendly and very helpful when it comes to diabetes care, the process of connecting your smart device to the CGM apps may be confusing at first.
We’ll show you step-by-step how to quickly and easily connect your CGM to your phone so you can begin the blood glucose monitoring process right away.
Connecting Your Devices
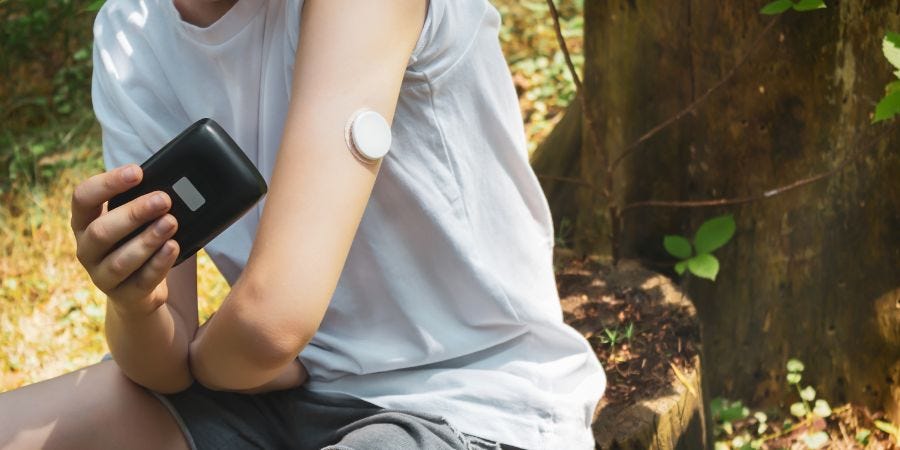
Whether you’re connecting your FreeStyle Libre 2 System to your phone or your Dexcom G6 or G7, this guide will show you exactly how to set it up. Be sure you know how to apply your sensor and that you know the correct areas to wear it.
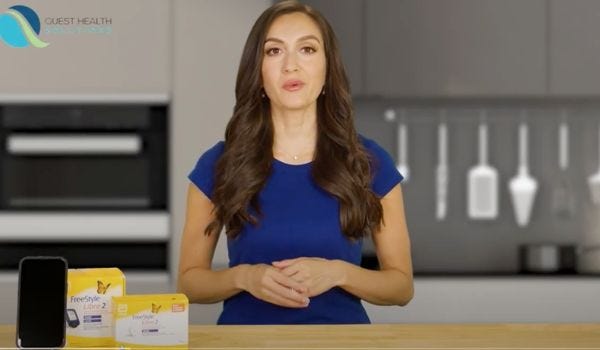
FreeStyle Libre 2 System
Before beginning, choose whether you want your sensor to pair with your FreeStyle Libre 2 system reader or your smart device. Once you’ve paired your sensor with one of these, you won’t be able to switch until it’s time to replace your sensor.
- Check that your Apple iPhone or Android phone is connected to wifi.
- Download the FreeStyle Libre 2 system app from the Google Play or App Store.
- Open the app and click the “Get Started” button.
- The next screen will check to see if your phone is compatible with the app. If it is, you’ll be able to click “Next.”
5. You’ll confirm your country on the next screen. After doing so, click “Next.”
6. Then, you’ll be asked to agree to policies on the next few screens. Once doing so, you can move on to the next step.
7. Enter the name and date of birth of the person who will wear the FreeStyle Libre 2 sensor. After entering this information, click “Next.”
8. Create your FreeStyle Libre 2 system account. You can use your email and create a password for your account.
9. On the next screen, you’ll confirm your glucose unit of measurement depending on which country you are in. Click “Next.”
10. Choose how you’d like to keep track of your carbohydrates. You can choose from grams or servings. Click “Next.”
11. You’ll then be shown how your data will be displayed and run through the health guide. When finished, hit “Done.”
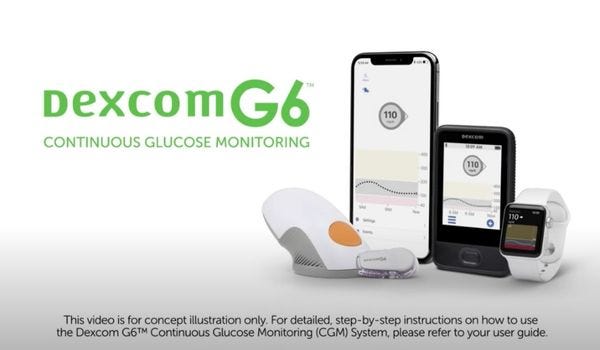
Dexcom G6
First, check your smart device’s compatibility with the Dexcom app.
- Download the Dexcom G6 app on your phone through the App Store (Apple iPhone) or Google Play (Android).
- Once downloaded, log into your account by using the username and password you created with Dexcom. If you haven’t yet created your Dexcom account, create one in this step.
- From there, the app will walk you through how to set up your app.
4. Set your low alert. This glucose monitoring notification tells you in real time when your blood sugar levels are falling quickly below the setting you choose. Once you choose your low alert setting, tap “Save.” *You should work with your healthcare provider to determine which low alert you should choose.
5. Choose your high alert. This will tell you when your blood glucose levels are rising above the setting you choose. Then hit “Save.” Speak with your healthcare professional to see which high-alert setting is right for you.
6. Enter your sensor code. You can find your sensor code on the sensor applicator. You will see a barcode and a number on the back of the sensor. Once you locate this, you can either scan the barcode with your phone’s camera or enter the numbers you see manually. If entering them manually, click “Save” at the top right of the screen after you’re done. Then click “Confirm Entry.”
7. The following screens will show you how to connect your transmitter to your phone. These two connect by Bluetooth. The app will check to see if your Bluetooth is turned on.
8. Enter your transmitter serial number. This will be located on the back of the transmitter box. You will see a barcode and a set of numbers; You can either scan the barcode with your phone’s camera or enter the numbers manually. After entering them, click “Save.” Then click “Confirm Entry.”
9. After setting up the app, you’ll apply your sensor and transmitter.
Dexcom G7
- Download the Dexcom G7 app on your phone through the App store (Apple iPhone) or Google Play (Android).
- Once downloaded, log into your account by using the username and password you created with Dexcom. If you haven’t yet created your Dexcom account, create one in this step.
- You’ll be shown a group of steps that will educate you about your Dexcom G7.
4. Then, you’ll connect your G7 to your phone.
5. Enable your Bluetooth.
6. Apply your sensor.
7. Pair your phone with your applicator with your pairing code. You’ll find this on the applicator. You will see a barcode and a set of numbers. You can either scan the barcode with your phone or enter the numbers manually. Your sensor will begin pairing. Wait until you see the “Pairing Complete” screen.
8. Sensor warm-up begins. After the sensor warm-up is complete, you will begin to receive your diabetes data.
Get Your CGM Covered by Medicare
Diabetes management can be tricky- counting carb counting, painful finger sticks, and monitoring blood pressure can all be a bit overwhelming. This process is made easier with CGM devices, but they can be costly when you’re paying out of pocket.
At Aeroflow Diabetes, we know that CGMs make life easier for those with diabetes, which is why we supply top-rated CGMs through Medicare. We take the stress out of completing insurance paperwork and navigating your coverage by doing it for you. We even reach out to your healthcare provider for a required prescription on your behalf. We’ll also deliver your CGM straight to your door so you no longer need to run to the convenience store or pharmacy for expensive CGMs.
All you need to do to see if you qualify for coverage through your insurance plan is fill out our easy Eligibility Form. It takes under 5 minutes. We don’t share your information with anyone and we’ll verify your coverage right away!
Make your diabetes management easier with Aeroflow Diabetes.
Information provided on the Aeroflow Diabetes website is not intended as a substitute for medical advice or care from a healthcare professional. Aeroflow recommends consulting your healthcare provider if you are experiencing medical issues relating to diabetes care.